

Krotos Audio
Sound Design Competition

WHO ARE KROTOS AUDIO?
Krotos Audio are a software manufacturer making powerful plug-ins and libraries for use in Audio Post-Production, Creative Sound Design, Game Audio and Music Production.
THE BRIEF:
Take part in the contest by submitting your best sound design for a sci-fi explosion clip. Be as creative as you like, but limit yourself to using only your own recordings from around the house.
“Where Do You Start?
”
WHERE DO YOU START?
PHASE 1: PLANNING
As with any sound design process I start with a blank spreadsheet and my imagination. By being methodical, imagining the sounds in silence and breaking down the core elements of the process I can map out what sounds I need to record and design and achieve a sonically rich palette to work from.

A list of the ‘visualised’ sounds and what might work in recording and design.
Whilst all sounds may not be designed, having an itemised list not only provides focus but it allows me to process which sounds may work and which may not. Sometimes you don’t know until you have the mic in place and your headphones on. Keeping track of what has been recorded also helps for the following stages of production.
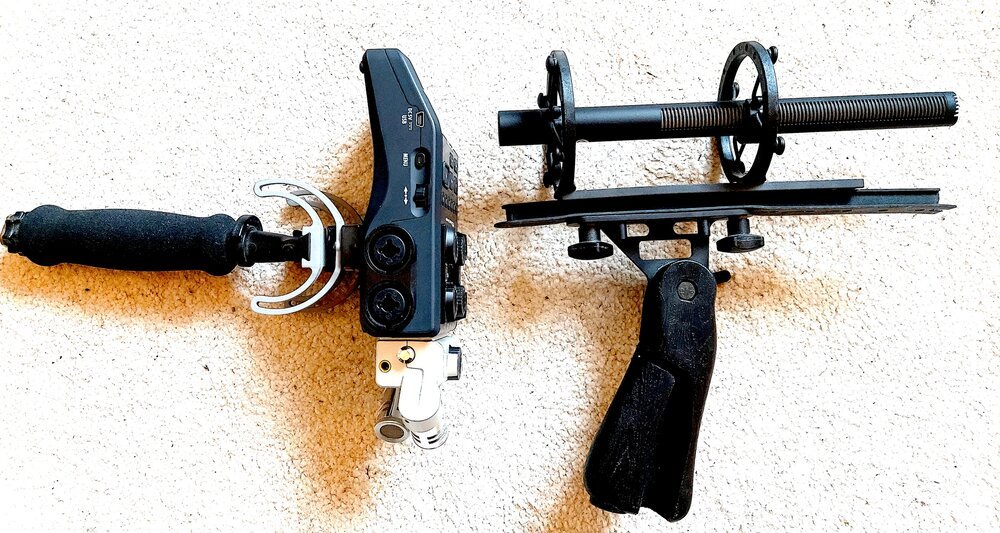
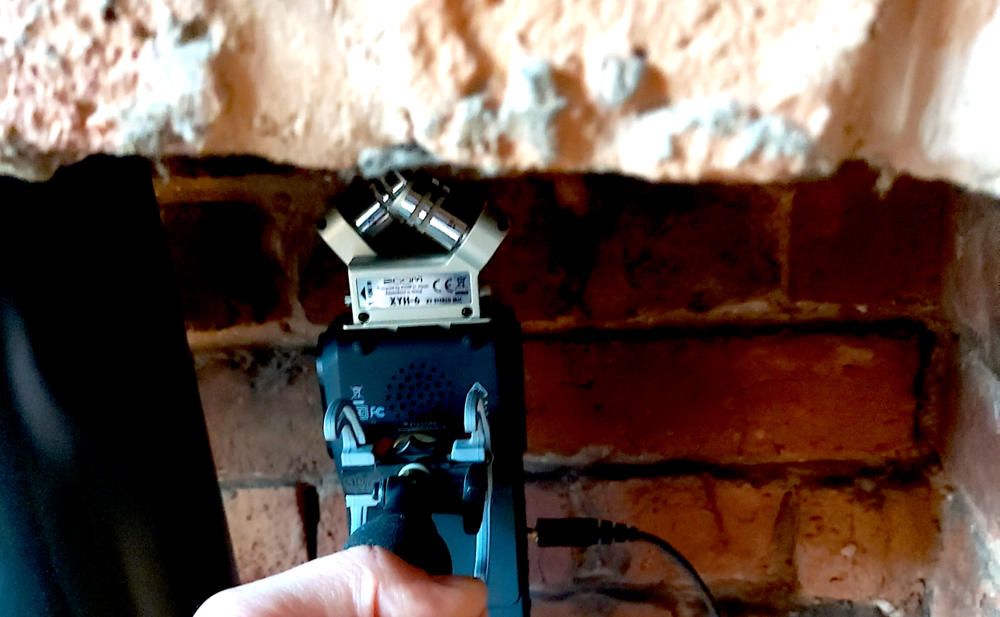
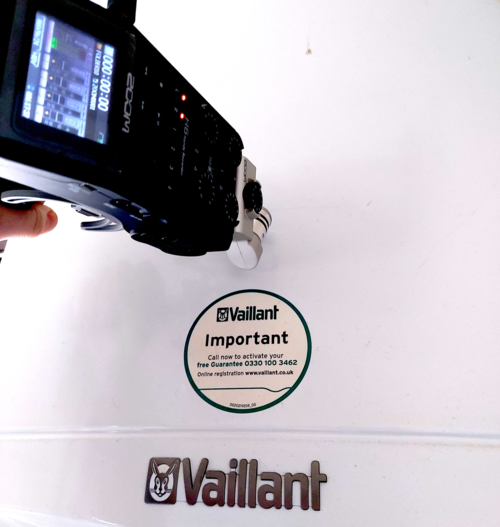
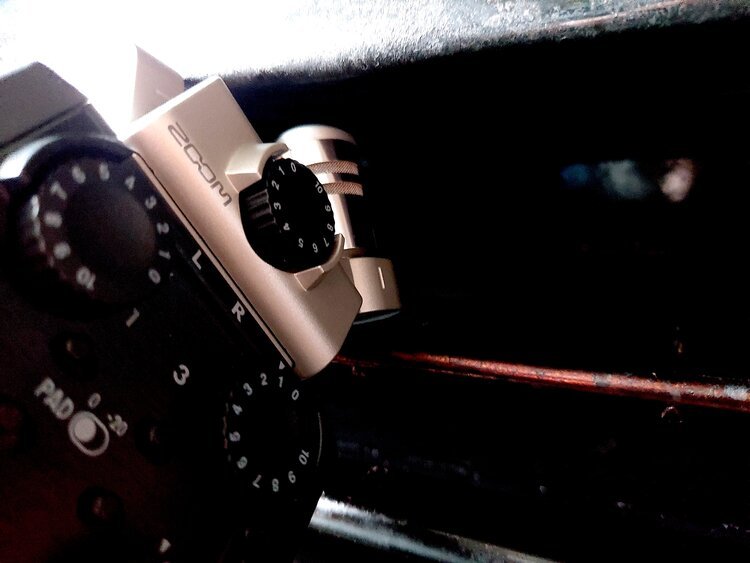
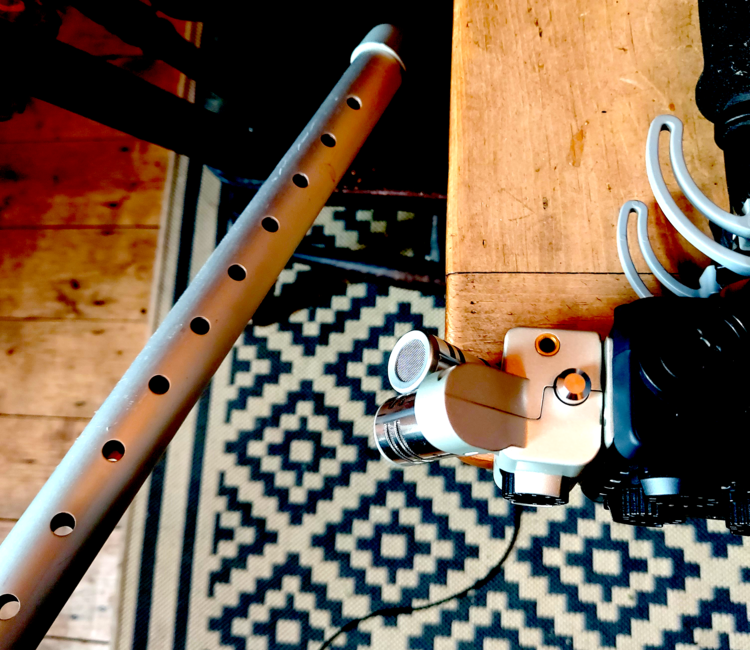
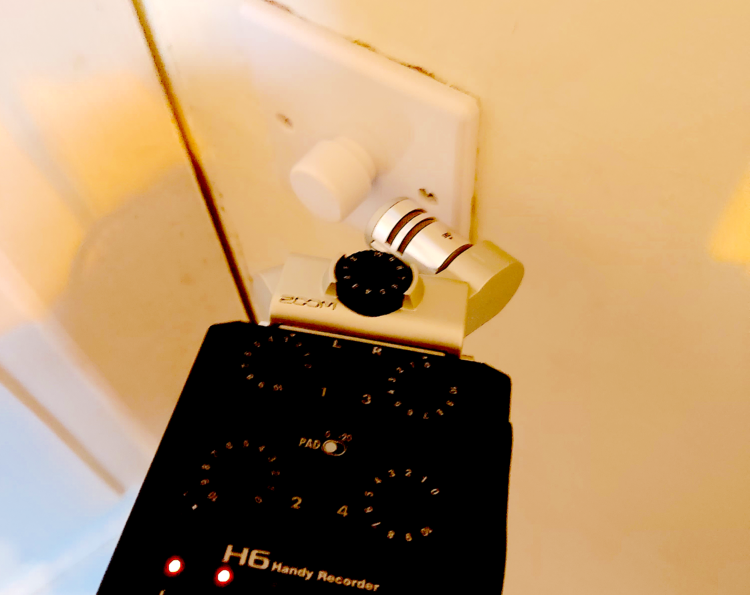
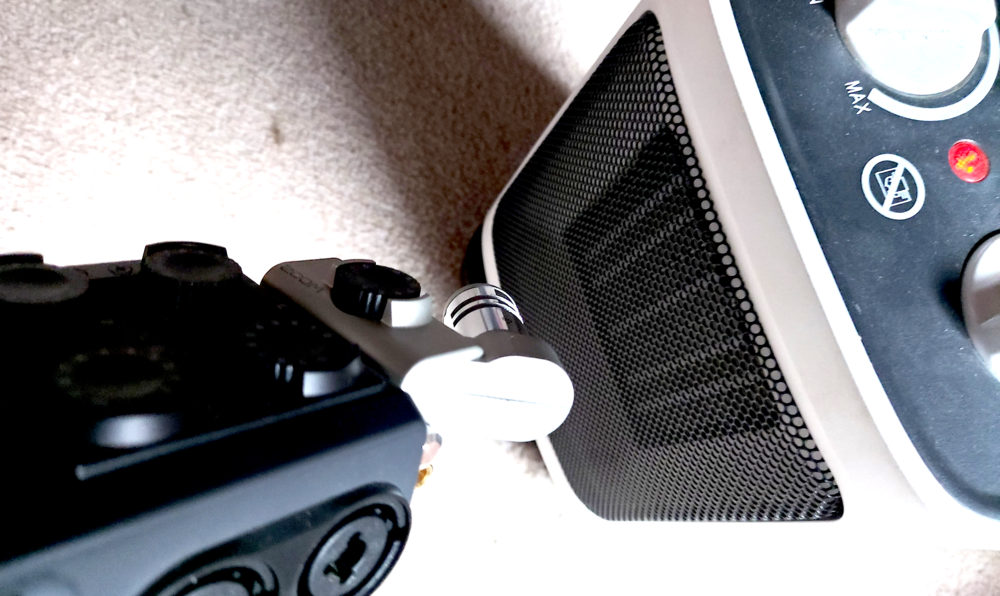
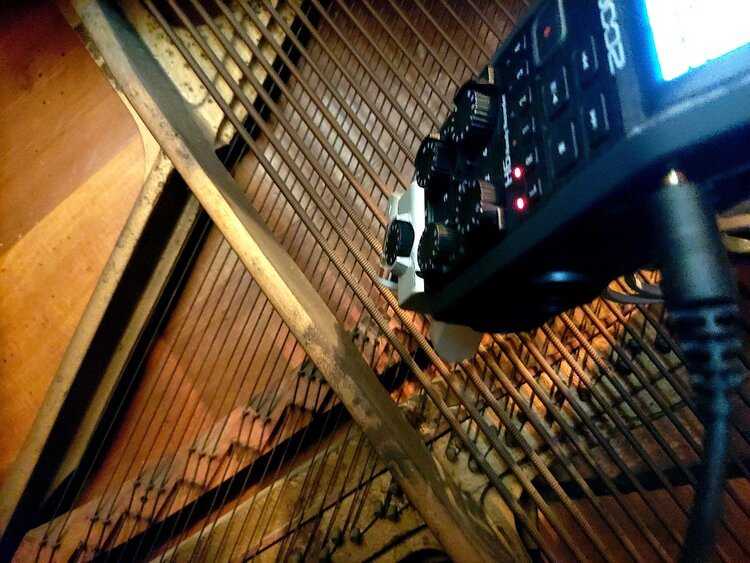
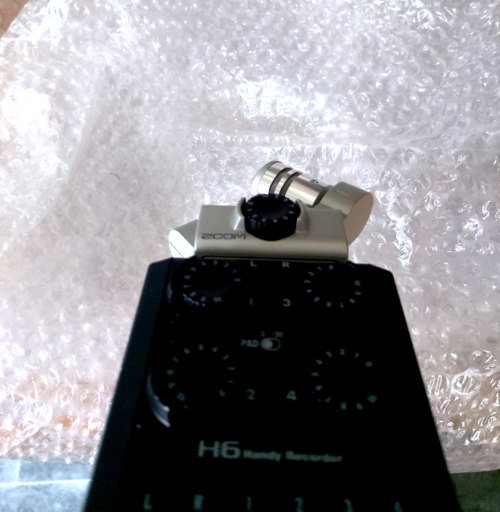
Next - choose your weapon. I used a Zoom H6 to capture the audio with a sample rate of 96kHz to allow maximum flexibility in stretching and processing in post production.
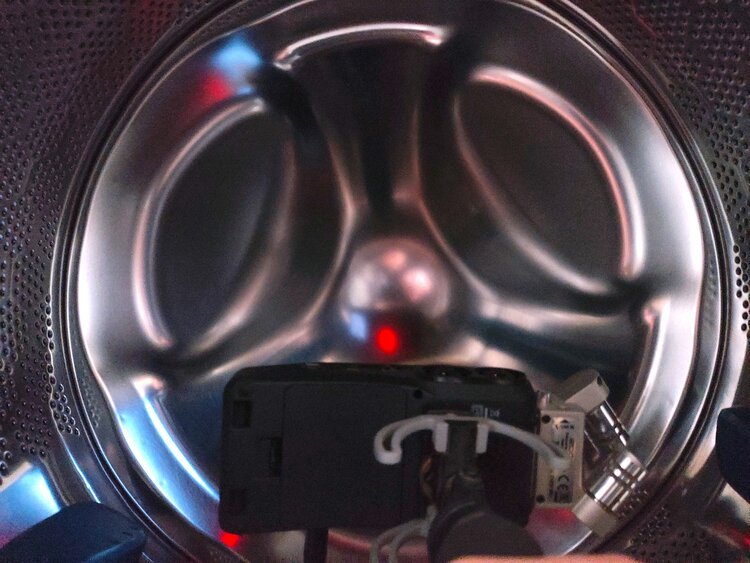
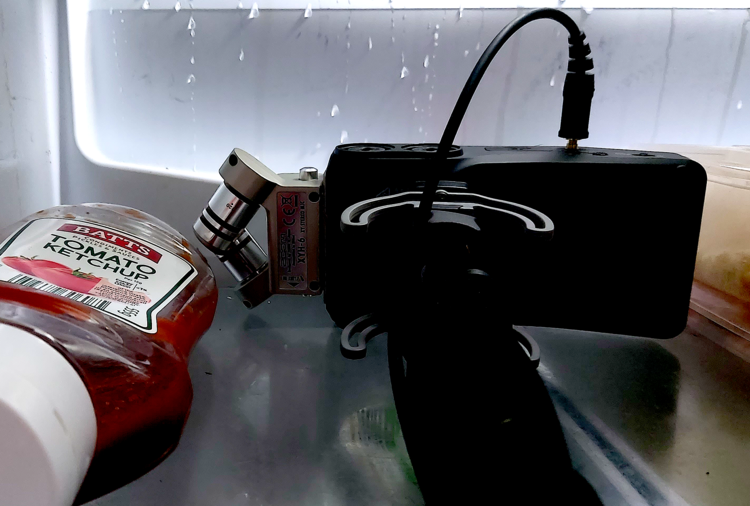
See some images of the recording process below.
PHASE 2: RECORDING & FILE PREP
Once the sounds were recorded they were brought in to the computer, organised and cleaned up with iZotope RX processing. The aim here was to normalize the levels and get rid of any excess noise, bumps, clicks and spoken word whilst still leaving the character of the sound intact.

Sounds were organised to their intended purpose and based on the pre-production spreadsheet.
The audio was then brought in to Nuendo and played back at different playback speeds. The slower speeds had a huge impact on the qualities of the sounds and how they were perceived. Running through 1/2 time speed and 1/4 time speed helped me hear new ideas and imagine new creative avenues. To capture the slower playback speeds the audio was rerouted (via Soundflower) out of Nuendo and into Ableton and recorded in real-time. This was a lengthy process but the only way (I think!) I could avoid any artefacts or grain you would get from pitching or stretching the audio to the same extent.

Audio was recorded into Ableton via Soundflower from Nuendo at 0.5 x speed and 0.25 x speed.

Files were split into their relative playback speeds ready for import into project session.
Once the audio was imported into the project session the sound design process could begin.
PHASE 3: SOUND DESIGN
The creative stage. With everything recorded and organised I could now approach the sound design process for the video. Using the spreadsheet to see which elements needed to be designed I began laying placeholder sounds in relevant places (i.e. ‘IMPACT_THUD_Fridge Interior 001.wav on initial concussion’ or ‘ENERGY_WIND_Crutch Extension Reduction 001.wav on initial wind rush’ etc.) to give me an idea of how the soundscape might play out.
Obviously at first this sounds terrible but it gives a platform or ‘roadmap’ from which to build. Explaining the exact processes used during the sound design phase is near impossible as when you’re “in it” (you’re really in it) you’re working fast and responsively to what you hear to improve the sound and make it more suited for its purpose. I can, however, share some before / after demos of the sounds and note some go-to techniques to enhance basic audio for sound design.

Automation is a key part in helping bring realism to sound design.

Dedicated plug-ins allow further manipulation and automation potential.
Another key component to the manipulation of sound, particularly when working with ‘basic’ sounds, is to consider the envelope profile of the sound. A heavily used process for this production was to automate the release gain on certain sounds to make them sound bigger and create more impact. This was particularly useful on the explosion sounds as it meant you could take a simple ‘thud’ (of the fridge door) and turn it into a much larger and more realistic sound.

By automating the release gain of the envelope shaper you can dramatically change the way a sound behaves over time.

iZotope RX was also used creatively to make sounds.
PHASE 4: MIX
Once everything was designed and in place the track was bounced, in session, to a master stem track. Here I added some further reverb and saturation - to give it a bit more edge - and imported the file into RX for a final clean up (of any unwanted sounds that may have appeared through audio compression) and for a final pass on the levels.
Please check out the final result below.
KROTOS AUDIO - SOUND DESIGN - DOM STORRS
Krotos Audio Sound Design Competition entry by Dom Storrs